

Nokta Magnetar 9000 Common Settings and How to Change Them
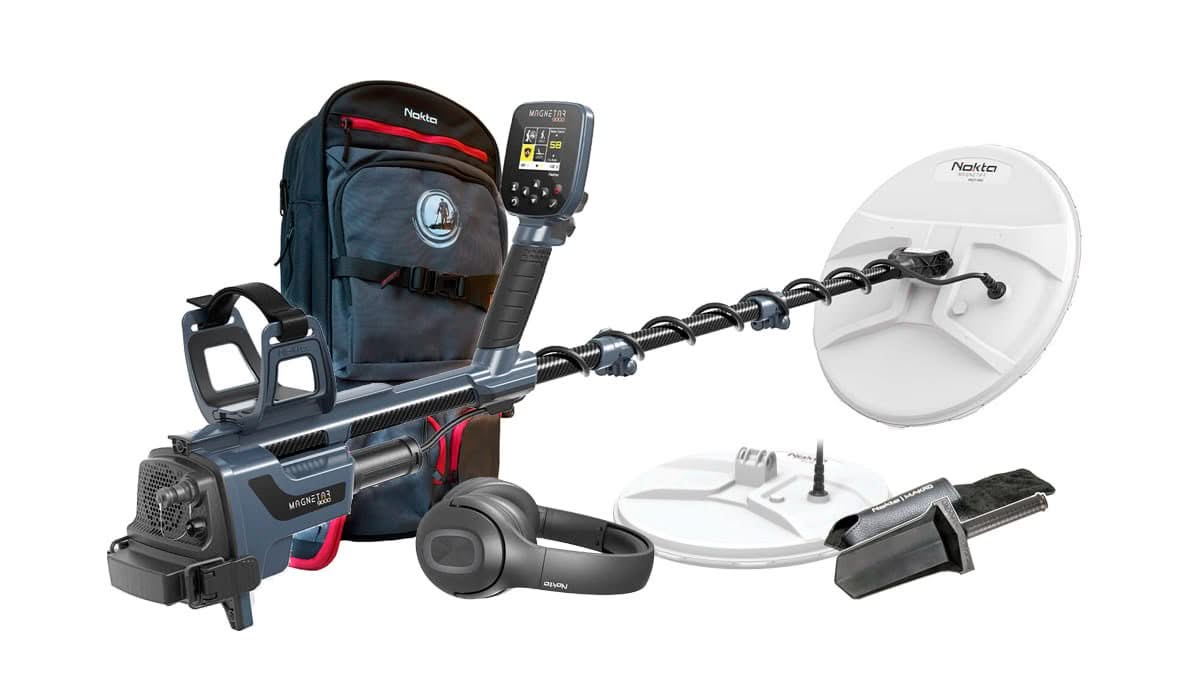
The Nokta Magnetar 9000 is a powerful advanced pulse induction detector built for deep gold, small gold, and extreme ground. This guide explains the most important settings in plain English so you know what each one does, when to use it, and how to adjust it in the field.
Before You Start Detecting
The Magnetar 9000 gives you two ways to run the detector: Easy Menu and Expert Menu. Easy Menu is best when you want the machine to handle the important setup for you. Expert Menu is best when you want full control over ground, mode, audio, noise cancel, sensitivity, and other advanced settings.
For most new users, the best first step is to start in Easy Menu, learn the sound of the detector, then move into Expert Menu once you are comfortable.
Quick Start Order
- Assemble the detector and connect the coil.
- Install a fully charged battery.
- Power on the detector.
- Choose Easy Menu or Expert Menu.
- Run Noise Cancel if the detector is unstable.
- Perform Ground Balance before searching.
- Adjust Sensitivity only after the detector is stable.
Easy Menu vs. Expert Menu
Easy Menu
Easy Menu is designed for fast setup. According to the manual, when the detector enters Easy Menu, Mode is set to Maximum, Ground is set to Regular, and Ground Balance is set to Auto.
Best ForNew users, quick setup, and situations where you want strong performance without adjusting every setting manually.
Turn the detector on, use the left or right navigation button to select Easy, then press the select button within 5 seconds.
Expert Menu
Expert Menu gives you full control of the Magnetar 9000. The Expert Menu includes Mode, Ground, Noise Cancel, Ground Balance, Sensitivity, Volume, Threshold Volume, Threshold Frequency, Audio Filter, Stabilizer, Target Volume, and the Settings Menu.
Best ForExperienced users, difficult ground, deep searching, and users who want to fine tune the detector for specific conditions.
Turn the detector on, select Expert with the left or right navigation button, then press the select button within 5 seconds.
Common Magnetar 9000 Settings
Mode
Mode changes how the Magnetar 9000 behaves for different target and ground conditions. The available modes are Maximum, Standard, and Deep.
When to Use ItUse Standard as a general starting point. Use Maximum when you want more response and the ground allows it. Use Deep when you are focused on deeper targets and can move more patiently.
In Expert Menu, use the left or right navigation buttons until Mode is selected. Use the up or down navigation buttons to choose Maximum, Standard, or Deep.
Ground
Ground changes how the detector handles different soil conditions. The available Ground options are Regular, Tough, and Extreme.
When to Use ItUse Regular for normal ground. Move to Tough or Extreme when ground mineralization, hot rocks, salts, or difficult soil are making the detector unstable.
In Expert Menu, navigate to Ground with the left or right buttons. Use the up or down buttons to select Regular, Tough, or Extreme.
Noise Cancel
Noise Cancel helps reduce electrical interference. This is useful when the detector is chattering, pulsing, or acting unstable before you even start swinging.
When to Use ItUse Noise Cancel when you are near power lines, another detector, electronic equipment, or any source of electromagnetic interference.
In Expert Menu, navigate to Noise Cancel. Follow the on-screen options and allow the detector to complete the process before adjusting sensitivity.
Ground Balance
Ground Balance is one of the most important settings on the Magnetar 9000. The manual explains that ground mineralization can create ground noise, which can hide weak signals from small or deep targets.
When to Use ItPerform Ground Balance when you start detecting, when you move to a different soil type, or when the detector starts reacting to the ground instead of targets.
Navigate to Ground Balance in Expert Menu or use the Ground Balance trigger. The Magnetar 9000 supports Auto, Semi Auto, and Manual Ground Balance.
Sensitivity
Sensitivity controls how strongly the detector responds to targets. Higher sensitivity can increase depth, but too much sensitivity can make the detector noisy in bad ground.
When to Use ItIncrease Sensitivity after Ground Balance if the detector is stable. Lower Sensitivity if the detector is producing false signals or reacting too much to the ground.
In Expert Menu, navigate to Sensitivity. Use the up button to increase it and the down button to decrease it. Make small changes and listen for stability.
Volume
Volume controls the overall audio level of the detector. This affects how loud the detector sounds through the speaker, Bluetooth headphones, or wired headphones.
When to Use ItAdjust Volume based on your headphones, wind, background noise, and personal hearing preference.
In Expert Menu, navigate to Volume. Use the up or down buttons to adjust the level.
Threshold Volume
Threshold Volume controls the background hum level. A proper threshold can help experienced users hear faint changes that may indicate a weak or deep target.
When to Use ItUse a lower threshold if the background sound is tiring. Use a clearly audible threshold if you want to listen closely for very faint target responses.
In Expert Menu, navigate to Threshold Volume and adjust it with the up or down buttons.
Threshold Frequency
Threshold Frequency changes the pitch of the threshold tone. This helps you set the background tone to a sound that is easier for you to hear.
When to Use ItAdjust this if the threshold pitch is too high, too low, or uncomfortable during longer hunts.
In Expert Menu, navigate to Threshold Frequency. Use the up or down buttons to change the tone.
Audio Filter
Audio Filter changes how target sounds are processed. This can help smooth the audio and make certain target responses easier to hear.
When to Use ItUse Audio Filter when target sounds are too sharp, too busy, or difficult to separate from background noise.
In Expert Menu, navigate to Audio Filter and adjust it with the up or down buttons.
Stabilizer
Stabilizer helps calm down detector behavior when the machine is too reactive. It is useful when the detector is noisy even after Noise Cancel and Ground Balance.
When to Use ItUse Stabilizer when the detector is unstable but you do not want to lower Sensitivity too much.
In Expert Menu, navigate to Stabilizer. Use the up or down buttons to adjust the setting until the detector becomes smoother.
Target Volume
Target Volume controls how loud target responses sound compared to the rest of the audio. This can help make target hits stand out better.
When to Use ItIncrease Target Volume if target responses are too soft. Decrease it if sharp target sounds are too loud or tiring.
In Expert Menu, navigate to Target Volume and adjust it with the up or down buttons.
Settings Menu
The Settings Menu includes Backlight, Bluetooth, Menu Colors, Language, Key Sounds, Key Vibration, Key Backlight, Flashlight, Device Info, and Factory Reset.
When to Use ItUse this menu to customize comfort features, pair headphones, change screen visibility, check software information, or reset the detector.
In Expert Menu, use the select button to enter the Settings Menu, then move through the options with the navigation buttons.
Important Ground Balance Tip
Do not skip Ground Balance. The manual warns that using the Magnetar 9000 without performing Ground Balance can cause false signals from the ground. Mineralized soil can create ground noise, and that noise can make it harder to hear weak signals from small or deeply buried targets.
A good field routine is simple: run Noise Cancel first if needed, perform Ground Balance, then adjust Sensitivity. That order gives the detector a better chance of running smooth before you start pushing for more depth.
Battery and Charging Setup

External Lithium-Ion Battery
The Magnetar 9000 uses an external lithium-ion battery. The manual lists operating time at approximately 7 to 10 hours, depending on settings, speaker or headphone use, backlight, flashlight, and other factors.
Always charge the battery before first use. A fully depleted battery takes approximately five hours to charge.
Charging Options
The manual lists three ways to charge the Magnetar 9000 battery: wall charger, car charger, and car battery charging cable. Before charging, remove the battery from the detector, place it on the charging unit, and make sure the connector pins are properly aligned.
During charging, the green light flashes. When the battery is full, the green light becomes steady.

Waterproof Use and Cleaning
The Magnetar 9000 is rated IP68 and waterproof up to 10 feet, or 3 meters. The manual notes that the Bluetooth headphones are not included in that waterproof coverage.
After using the detector in salt water, rinse the system box, shaft, and search coil with tap water. Make sure no salt water remains on the connectors. Do not use chemical cleaners. Dry the shaft and display with a soft, non-scratching cloth.
Magnetar 9000 Specification Snapshot
Recommended First Hunt Settings
Beginner Setup
Start in Easy Menu. Let the detector run with its simplified setup, perform Ground Balance, and learn how the Magnetar 9000 sounds before changing advanced settings.
General Expert Setup
Start with Standard Mode, Regular Ground, Auto Ground Balance, and moderate Sensitivity. If the detector is stable, increase Sensitivity slowly.
Difficult Ground Setup
If the detector is noisy, run Noise Cancel, perform Ground Balance again, try Tough or Extreme Ground, and lower Sensitivity if needed.
Final Thoughts
The Nokta Magnetar 9000 is a serious gold detector, but the key to getting the most out of it is proper setup. Ground Balance, Noise Cancel, Sensitivity, Ground, and Mode should be adjusted in the right order. Start stable first, then increase performance as the ground allows.
For new users, Easy Menu is a smart place to begin. For experienced users, Expert Menu opens up the full control needed for deep gold, small gold, and extreme ground conditions.
Need Help Choosing the Right Gold Detector?
Metal Detecting Shop can help you compare the Nokta Magnetar 9000 with other gold and pulse induction detectors so you can choose the right machine for your ground, targets, and experience level.
View the Nokta Magnetar 9000